One of the most recent updates to the ActiveCampaign Marketing Automation CRM is their new and improved Segment builder. Where before you had to create your segments against each List, your segments can now all be created in one area, allowing you to access and edit them much more easily.
And you can easily Convert your existing Segments as well, but more on that later.
What are Segments?
In short, segmentation refers to the process of dividing your contacts into smaller, more specific audiences – or Segments – which meet specified criteria. Using Segments allows you to reach the right audience for the right purpose, offering a more personalised and relevant experience.
Using a very simple example, you may want to email everyone who is on your mailing list about a special offer but exclude anyone who has already signed up to the service. The Segment could be created based on a Tag or Custom Field, or a combination of these, to ensure you are only reaching your intended audience.
Creating a Segment
Up until the recent release, you would create a segment against a List. Now, you can access your Segments in a single location, found in the Contacts sub-menu in your ActiveCampaign account.

On your first visit to the Segments area, you will only see some suggested AI segments. To create your first Segment, use the aptly named “Create a Segment” button in the top right-hand corner of the page, which will open a modal window.
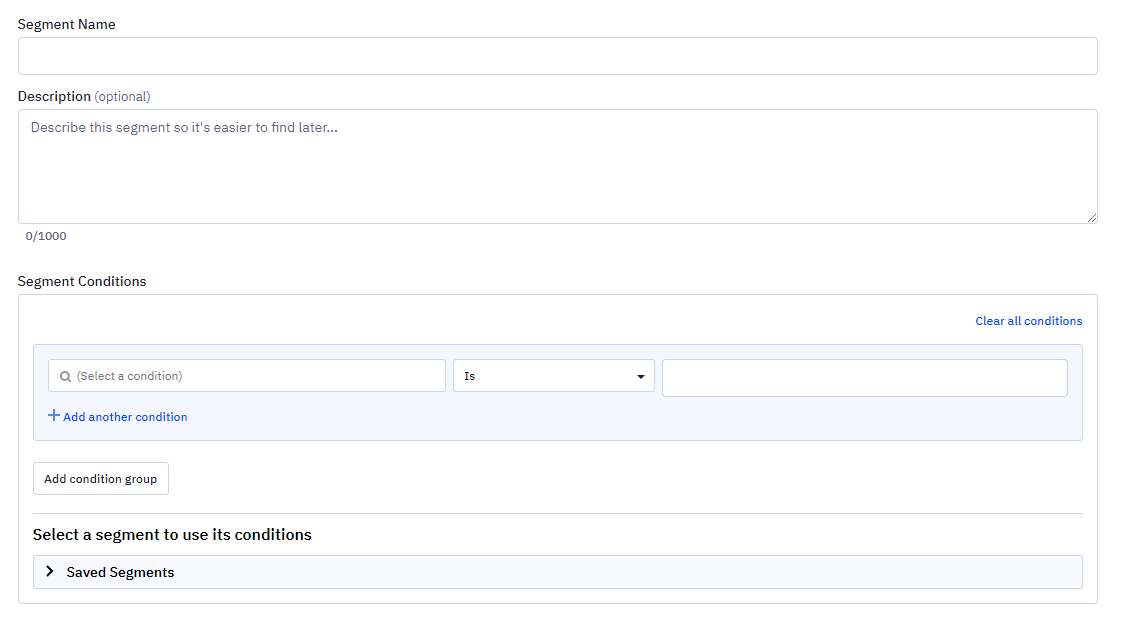
The fields are self-explanatory, so I won’t waste your time explaining what they are.
However, the addition of the Description field is a helpful touch, allowing you to add some detail explaining what the Segment is designed to do, whether that’s purely as an aide-memoir for yourself, or whether it’s for the benefit of other Users of your ActiveCampaign account.
The Segment Conditions builder is the same as before, allowing you to select a number of conditions to pull out your required target audience.
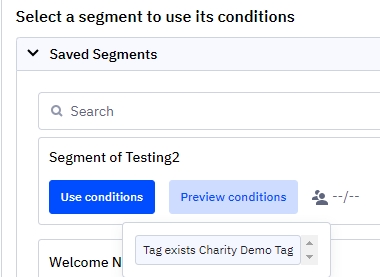
Once you have some “Saved Segments”, you can re-use those in future Segments as well, meaning you do not have to re-build the conditions each time. This is a huge time saver if you use Segments a lot.
There is a helpful option also allows you to preview the conditions before using them, to make sure you are pulling the right Segment in before adjusting them.
Sending Campaigns to a Segment
And that’s it. Just click Done to save your changes and your settings are all saved.
I know you are excited and want to get stuck in, but before you rush off to sort out your unsubscribe process, there are just a couple more things to be aware of.
Once you have set up your Segments or converted your old ones (read on for details on how to do this), sending your Campaigns to the segment is easy.
In the “Recipient Selection” section of the Campaign workflow, once you have chosen the List(s) you want to send the campaign to, simply drop down the “Send to” selector and choose the “Segments” option. This will present you with your Saved Segments so you can easily target your campaign to the right audience.

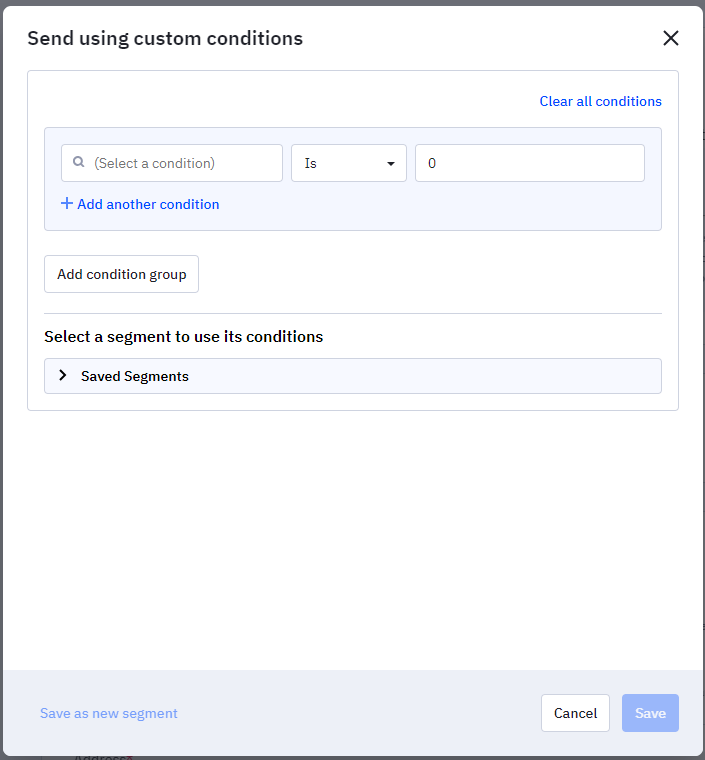
Another fantastic option though is the ability to “Send using custom conditions”.

This feature allows you to modify your saved segments, or create a completely new one, to further personalise your marketing messages.
Converting existing Segments
If you have been using ActiveCampaign for a while, you will no doubt have created some segments in the past. Don’t worry, these have not been lost with the introduction of the new Segment builder.
To convert a past Segment, navigate to your Lists and select “Segmentation” from the dropdown menu to the right of the “Edit” button.
Select the Segment you wish to Convert and simply click on the handy “Convert to Segment” button.

Doing so opens up a modal window which allows you to change the name and add in a description, should you wish to, before saving it as a new Segment.

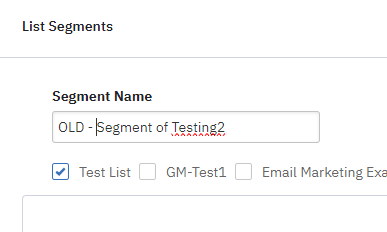
As the old segment remains in the List, I would recommend changing the name of that segment – adding something such as “OLD” to the front of it is enough – so you can identify which segments you have converted.
Segmenting your Contacts is an excellent way to make sure you are sending the right marketing to the right people at the right time. If you need help getting your Segments set up or want to discuss how to get the most out of your ActiveCampaign account, do get in touch!